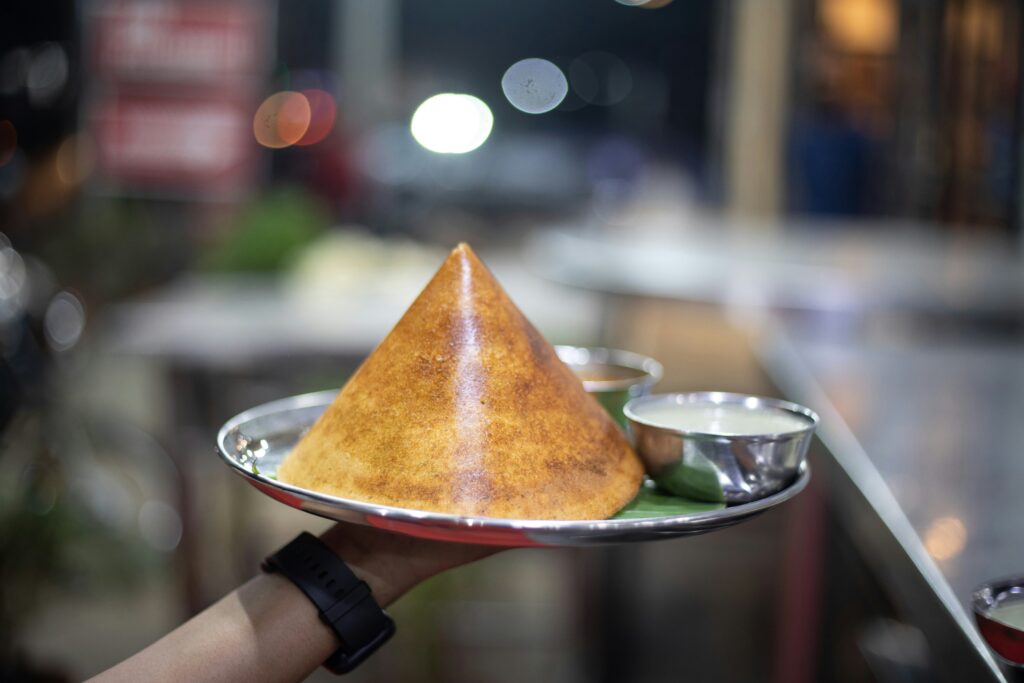
In the western world, bread is so commonly used. To make the bread you have to use fermenting techniques with the help of yeast. However, in South India the bread that you mostly find here is called idli or dosa. Today we are going to discuss Dosa, the most popular flat bread of south India made with fermentation techniques that does not require yeast.
Dosa has been made with natural fermentation techniques. If done the right way, you can feast on fluffy gluten-free white flatbread called dosa.
Here are some tried-and-tested dosa batter fermentation tips, especially suited for Indian kitchens (and even those in colder climates):
1. Rice & Dal
While you may experiment using different types of rice, dosa is best made in something called the ‘idli rice’. The grains of this rice are shorter and fatter unlike normal rice.
- Ideal ratio: 3 parts rice : 1 part urad dal (skinned and split).
- Add a tablespoon of fenugreek seeds (methi) — it improves both fermentation and batter texture.
2. Soak Separately
Usually to save time, people soak rice and dal together and even grind them together. Although it may still work but if you want to do it right you must:
- Soak rice and dal separately for 4–6 hours.
- Grind urad dal to a fluffy texture (add water slowly).
- Grind rice slightly coarse (like fine semolina).
- Mix both well with clean hands — natural bacteria on skin aids fermentation.
3. Let it Sit in Warm Temperature
I have observed that the fermentation happens more slowly in winters than in summers. The temperature very obviously affects the fermentation process.
- The optimum temperature for the dosa batter to ferment is best between 25–32°C (77–90°F).
- If it’s cold:
- Keep batter inside the oven with light on, or
- Place in a warm spot wrapped in a towel, or
- Use a proofing box or Instant Pot (yogurt mode).
- Keep batter inside the oven with light on, or
4. Don’t Add Salt Before Fermentation
After preparing the batter do not add salt. It is best to keep it to ferment and then add powdered salt. This is because:
- Salt slows down bacterial activity.
- Exception: In hot climates, a pinch of salt can prevent over-fermentation.
5. Leave Room to Rise
Please make sure that you did not fill the vessel with the batter to the brim. Once at night I did it and placed a lid on it. In the morning the floor of the kitchen was a mess as the batter overflowed out of the vessel. Please make sure.
- Fill only half of your container — batter will expand and rise. A dome shaped lid would also help but the batter can move the lid so just fill half the vessel.
6. Time It Right
- In warm places: 8–12 hours.
- In cooler climates: 12–24 hours.
- You know it’s ready when:
- The batter doubles in volume.
- It smells slightly sour and has tiny air bubbles.
- The batter doubles in volume.
7. Store Correctly After Fermenting
- Once fermented, refrigerate batter immediately to stop further souring.
- It stays fresh for up to 5–7 days.
If for some reason the batter fails to rise, it has got to do with the temperature of your room. You can try a warmer place or add a spoon of leftover fermented batter as a starter.
If you think the batter has turned sour too soon you can refrigerate it early.
It is a general misconception that dosa batter can be made using a grinder alone. Grinders are usually hefty and occupy a lot of space in the kitchen. You can use blenders too if the quantity of batter is lesser.
Let me know if these tips helped you.
Hi, this is a comment.
To get started with moderating, editing, and deleting comments, please visit the Comments screen in the dashboard.
Commenter avatars come from Gravatar.